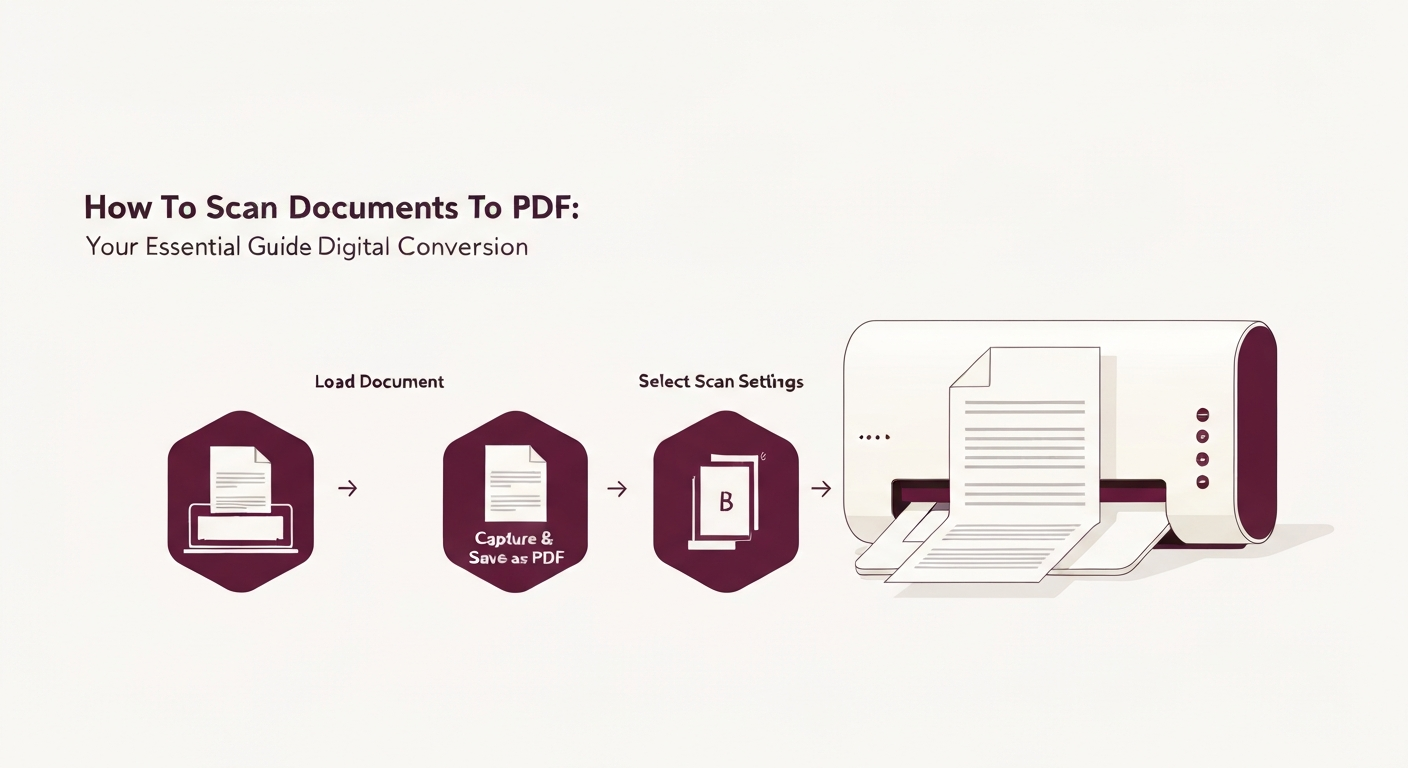
How To Scan Documents To PDF: Your Essential Guide for Digital Conversion
S
Super PDF Team
Editor
Scanning documents to PDF involves converting physical papers into digital files that are universally shareable, searchable, and easily stored. You can achieve this using a dedicated scanner, a multifunction printer, or even your smartphone with a scanning app, followed by tools to optimize and consolidate your digital pages into a high-quality PDF document.
Why Convert Documents to PDF?
In today's digital world, paper documents can be cumbersome. Converting them to PDF offers numerous advantages:
Portability & Accessibility: PDFs can be opened and viewed on virtually any device and operating system without special software, making them easy to share and access from anywhere.
Searchability: With Optical Character Recognition (OCR), scanned PDFs can become searchable, allowing you to quickly find specific information within hundreds of pages.
Security: PDFs can be password-protected and encrypted to safeguard sensitive information.
Archiving & Storage: Digital documents take up less physical space, are easier to organize, and can be backed up to prevent loss.
Professionalism: PDFs maintain formatting across different devices and printers, ensuring your documents always look professional.
Method 1: Using a Dedicated Scanner or Multifunction Printer
This method is ideal for high-volume scanning, large documents, or when you need the absolute best quality and control. Most office environments have access to these devices.
Step-by-Step Guide:
Prepare Your Document: Ensure your document is clean, flat, and free of staples or paper clips. If scanning multiple pages, arrange them in the correct order.
Place the Document:
Flatbed Scanner: Place the document face-down on the scanner's glass plate, aligning it with the corner guide. Close the lid gently.
Automatic Document Feeder (ADF): Load a stack of documents face-up into the ADF tray. The scanner will feed them one by one.
Open Scanning Software: Most scanners come with dedicated software (e.g., HP Smart, Epson Scan, VueScan). Alternatively, you can use built-in operating system tools like Windows Fax and Scan (Windows) or Image Capture (macOS).
Configure Scan Settings:
Document Type: Select "Document" or "Text."
Color Mode: Choose "Color" for photos, "Grayscale" for images with shades, or "Black & White" for text-only documents (often results in smaller file sizes).
Resolution (DPI): 200-300 DPI (dots per inch) is generally sufficient for text documents. For higher quality or documents with fine details, 600 DPI might be better, but it will increase file size.
File Format: Crucially, select "PDF" as the output format. If you're scanning multiple pages, ensure the software is set to create a "multi-page PDF" rather than individual image files.
Destination: Choose where to save the scanned PDF on your computer.
Perform the Scan: Click the "Scan" button. If using an ADF, the pages will feed automatically. For a flatbed, you'll typically scan one page at a time and then have the option to add more pages to the same PDF.
Review and Save: Once scanning is complete, review the PDF to ensure all pages are present, legible, and correctly oriented. Save the file with a descriptive name.
Method 2: Scanning with Your Smartphone or Tablet
Your smartphone is a powerful scanning tool for quick scans, small volumes, or when you don't have access to a traditional scanner. Many apps offer excellent image processing features.
Step-by-Step Guide:
Choose a Scanning App: Popular options include:
Adobe Scan (iOS/Android): Free, robust, and integrates well with Adobe services.
Microsoft Office Lens (iOS/Android): Great for documents, whiteboards, and business cards.
Notes App (iOS): Built-in scanner (Open Notes > tap Camera icon > Scan Documents).
Google Drive (Android): Built-in scanner (Open Drive > tap + icon > Scan).
Prepare Your Document: Place your document on a flat, well-lit surface with good contrast. Avoid shadows and glare.
Open the App and Select Scan: Launch your chosen app and select the document scanning option.
Capture the Image: Position your phone camera directly above the document. The app will usually auto-detect the edges and provide a frame. Hold steady and tap the capture button. Some apps automatically take the picture once aligned.
Adjust and Enhance:
Crop: Manually adjust the corners if the auto-detection wasn't perfect.
Rotate: Correct any misoriented pages.
Filters/Enhancements: Apply filters like "Grayscale," "Black & White," or "Color" to improve readability and contrast. Most apps have an "Enhance" or "Document" mode that sharpens text.
Add More Pages: If your document has multiple pages, tap the "Add" or "+" icon and repeat steps 4-5 for each subsequent page. The app will combine them into a single PDF.
Save as PDF: Look for a "Save," "Done," or "Share" option and choose to save or export the file as a PDF. Give it a clear filename.
Bringing It All Together: Creating & Optimizing Your Scanned PDF with Super PDF
Once you have your scanned images – whether from a traditional scanner or your smartphone – Super PDF offers powerful tools to consolidate, optimize, and enhance your digital documents. If your scanner saved individual image files (like JPGs or PNGs) instead of a multi-page PDF, or if you scanned multiple documents with your phone and want to combine them, Super PDF is your go-to solution.
Combine Scanned Images into One PDF: If you have multiple image files (JPGs, PNGs) from your scans, you can easily turn them into a single PDF. Visit Super PDF's PDF Scanner (which handles image-to-PDF conversion) or our dedicated JPG to PDF tool. Upload all your scanned image files, arrange them in the correct order, and click to convert them into one comprehensive PDF. For more detailed guidance, check out our blog post on how to Convert Scanned Images to One PDF.
Optimize for Size: Scanned PDFs, especially those in color or high resolution, can often be quite large. Use Super PDF's Compress PDF tool to significantly reduce file size without compromising quality, making them easier to share and store.
Make Text Searchable: If your scanned PDF is just an image of text, you can't search or select the text within it. Super PDF's PDF OCR tool can convert that image-based text into selectable, searchable, and editable text, unlocking its full potential.
Edit and Enhance: Sometimes, scans might have stray marks or need minor adjustments. Our Edit PDF tool allows you to make quick edits, add annotations, or clean up imperfections directly within your browser.
Comparing Your Scanning Options
Here's a quick comparison to help you decide which scanning method is best for your needs:
Feature
Dedicated Scanner / Multifunction Printer
Smartphone Scanning App
Super PDF (Post-Scan Processing)
Initial Scan Quality
Excellent (high resolution, precise)
Good to Very Good (depends on camera & lighting)
N/A (processes existing images/PDFs)
Speed
Fast, especially with ADF (high volume)
Moderate (page-by-page capture)
Fast (upload, process, download)
Portability
None (fixed device)
High (always with you)
High (web-based, cloud-enabled)
Ease of Use
Requires software installation/setup
Very Easy (point & shoot)
Very Easy (web interface)
Ideal For
Large batches, professional archiving, fine details
Quick scans, personal use, on-the-go
Optimizing Your Scanned PDFs
After scanning, consider these steps to make your PDFs even more effective:
Compress: As mentioned, use Compress PDF to reduce large file sizes for easier sharing and storage.
OCR: For any scanned document you wish to make searchable or editable, the PDF OCR tool is invaluable. It converts the image of text into actual text.
Merge: If you have multiple scanned documents (e.g., different sections of a report), use Merge PDF to combine them into one cohesive file.
Organize: Need to reorder pages or delete unwanted ones from your scanned PDF? Super PDF's Organize PDF and Delete Pages tools can help.
Scanning documents to PDF is a fundamental step towards a paperless workflow. Whether you use a traditional scanner for bulk tasks or your smartphone for on-the-go needs, remember that Super PDF is here to help you bring all those pieces together, ensuring your digital documents are perfectly optimized for your requirements. From combining scanned images to compressing large files and making them searchable, we've got you covered.
Ready to turn your scanned images into perfect PDFs or optimize existing ones? Head over to Super PDF's PDF Scanner to get started and experience seamless document conversion and enhancement!
Frequently Asked Questions
Q: What is the best DPI for scanning documents to PDF?
A: For general text documents, 200-300 DPI is usually sufficient for good readability and reasonable file size. If your document contains very small text, detailed images, or if you plan to use OCR, 600 DPI might be preferable, though it will result in larger files.
Q: How can I reduce the file size of a scanned PDF?
A: Scanned PDFs can often be large. To reduce their size, you can use Super PDF's Compress PDF tool. Additionally, scanning in black and white or grayscale instead of color, or at a lower DPI, can also help decrease file size during the initial scan.
Q: Can I scan multiple pages into one PDF?
A: Yes, most dedicated scanning software and smartphone scanning apps offer an option to scan multiple pages and combine them into a single multi-page PDF. If you have individual image files of scanned pages, you can use Super PDF's PDF Scanner or JPG to PDF tool to merge them into one PDF.
Q: How do I make my scanned PDF searchable?
A: To make a scanned PDF searchable, you need to apply Optical Character Recognition (OCR). Tools like Super PDF's PDF OCR analyze the image of text and convert it into selectable and searchable text within the PDF document.